This article is based on the Demo (linaro) on the Zedboard officially given by Xilinx, and combined with the author's personal practice, made a small summary, hoping to provide some reference for "linux whites".
First of all, first attach the interface of linaro after my successful operation,
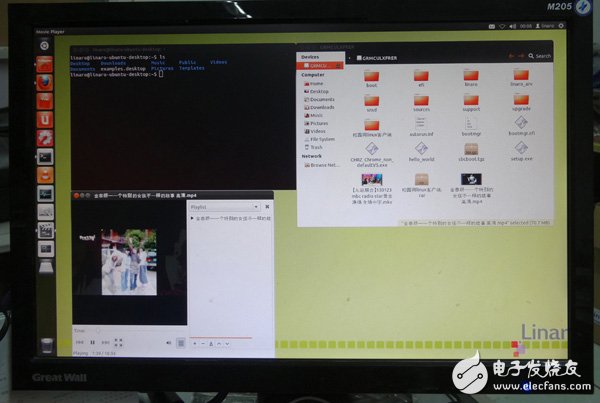
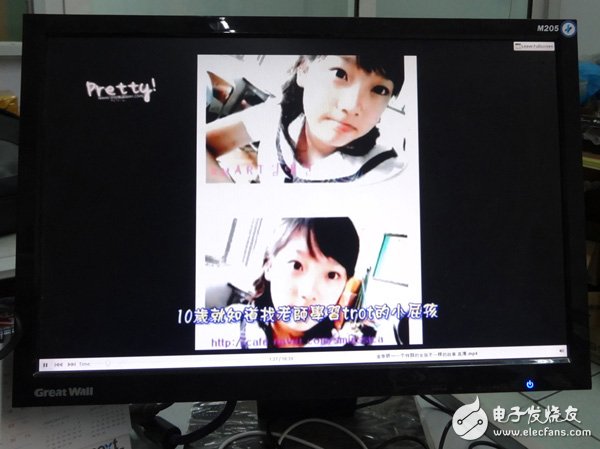
The following picture shows a screenshot of running an MP4 of about 80M. It is okay, not card, but unfortunately there is no sound.
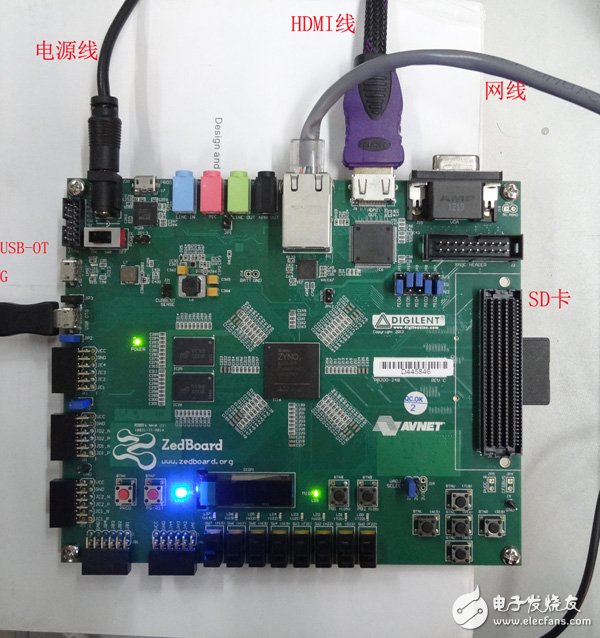
The following figure is the author's hardware connection diagram
Ok, now I start to talk about some problems I encountered in this process, the author's environment is Ubuntu 10.04 x86 version, according to the official documentation, the address is as follows, first, you need to partition the SD card, use ubuntu The built-in software Disk UTIlity, just opened is not running on the physical machine, just running Ubuntu inside the virtual machine, it turns out that the SD card can not be identified under Ubuntu, the result is entangled for a long time, all kinds of Internet to find the driver, or no response, Finally, the brain has a move, try it on the physical machine, restart it and enter Ubuntu. Click System->AdministraTIon->Disk UTIty, open it, then you can see your SD card. At this time, if you click format, it is not allowed. Execution, the solution is to uninstall first, and then you can first check where your device is, the author is /dev/mmcblk0p1, you can enter the command to uninstall it,
Umount /dev/mmcblk0p1
Then use Disk UTIlity to format and create two partitions, one for FAT format and one for EXT4 format. For details, please refer to the official documentation, as shown in the following figure.
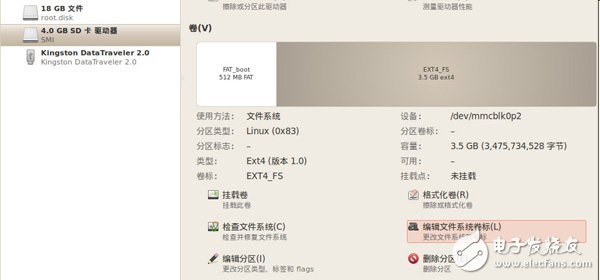
At this point, the officially downloaded sbcboot.tgz and sbcfs.tgz files are decompressed into the FAT and EXT4 partitions respectively. Note that when extracting the file sbcboot.tgz, it will report an error, saying that the permissions are not enough, just ignore it, continue Unzip, after the completion, unplug the SD card, insert it into the Zedboard board, and set the jumper according to the author's hardware connection diagram, then turn on the power, wait, just start two small Linux in the upper left corner of the screen Penguin, and then wait for about 3 minutes to appear as the author just started the interface, and you're done! Now you can use it like you would a normal PC! However, personal feeling is still a little small card, can not open too many programs, in addition, the official also gave a demo camera test program, but because the camera is older, can not find the driver on the Internet, so I did not try it myself Little regret!
Because there are ready-made image files and official documents given by Xilinx, the experiment is relatively simple, but in any case, this meaning is extraordinary. After all, we have entered the graphical interface and can interact with the development board intuitively! Later, you need to make full use of the full resources given by Zedboard and do what you want to do!
Glass Reinforced Plastic Channel Cable Tray
Glass Reinforced Plastic (GRP) channel cable tray is a type of cable management system that is widely used in various industries. It is made of a composite material that consists of glass fibers and a thermosetting resin matrix. The resulting material is strong, lightweight, and resistant to corrosion, making it an ideal choice for harsh environments.
GRP channel cable tray is designed to support and protect electrical cables and wiring. It is available in various sizes and configurations to suit different cable management needs. The channel shape of the tray provides a secure and stable support for the cables, preventing them from sagging or getting damaged. The tray can also be easily cut and shaped to fit specific installation requirements.
One of the main advantages of GRP channel cable tray is its durability. The material is resistant to corrosion, UV radiation, and chemical exposure, making it suitable for use in harsh environments such as chemical plants, offshore platforms, and wastewater treatment facilities.
The tray is also fire-resistant and has a high strength-to-weight ratio, which means it can support heavy loads without adding extra weight.
Another advantage of GRP channel cable tray is its ease of installation. The tray can be easily mounted on walls, ceilings, or floors using a variety of fixing methods such as brackets, clips, or hangers.
The lightweight nature of the material also makes it easier to handle and transport, reducing installation time and costs.
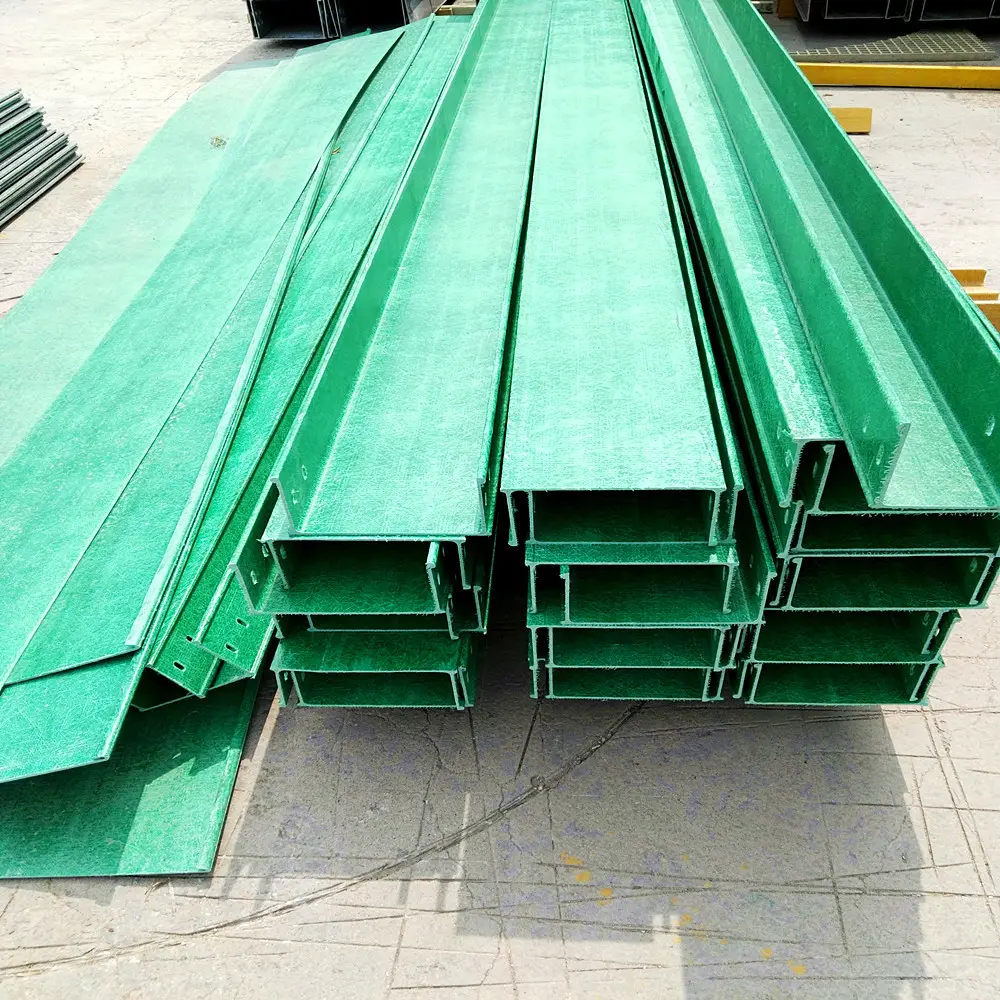
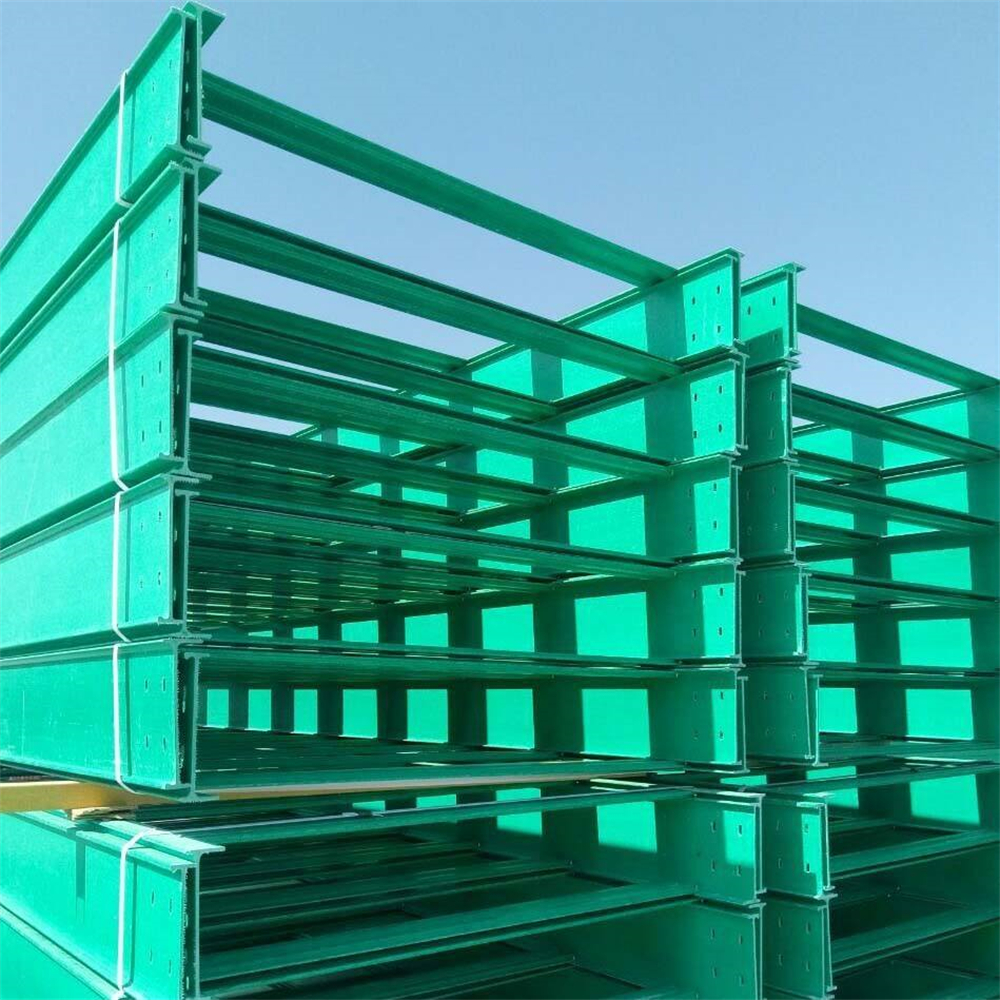
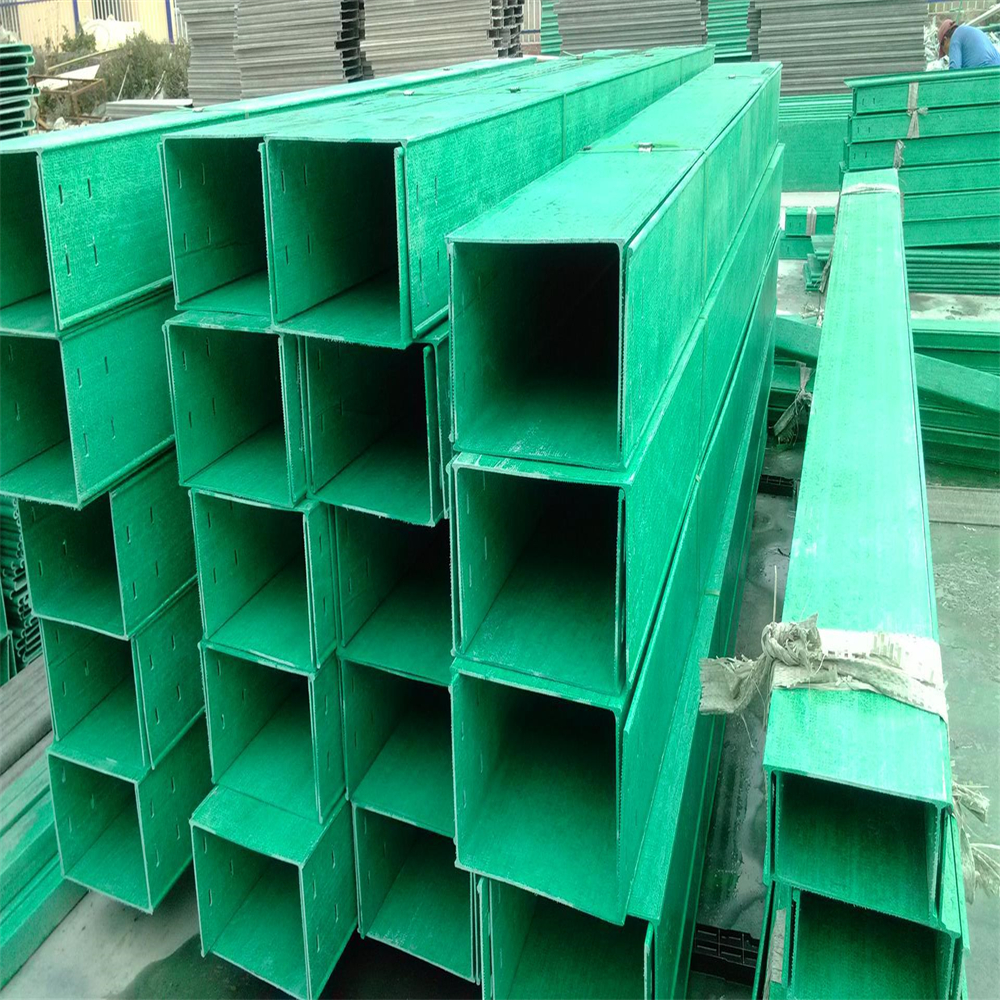
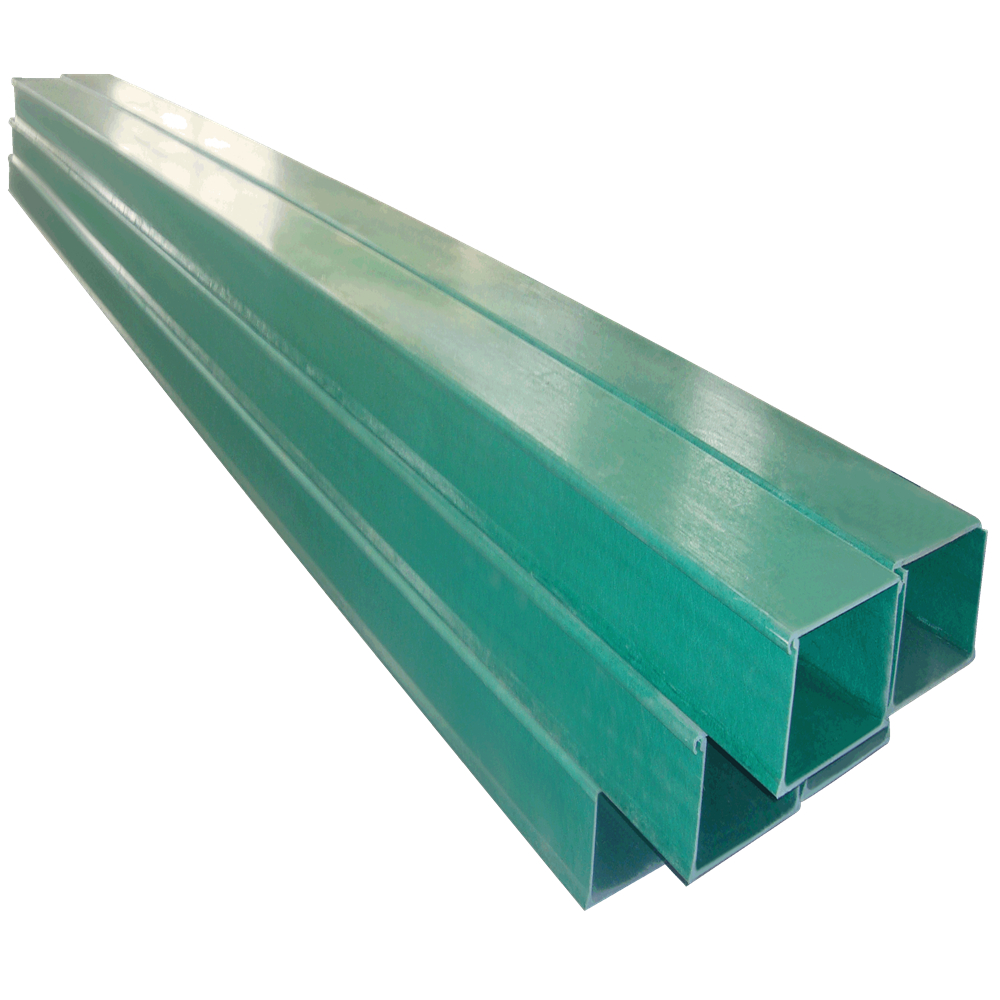
Glass Reinforced Plastic Channel Cable Tray,Fibreglass Cable Ladder,Glass Plastic Cable Tray,Fiberglass Cable Tray Price
Rayhot Technology Group Co.,Ltd , https://www.cnrayhot.com