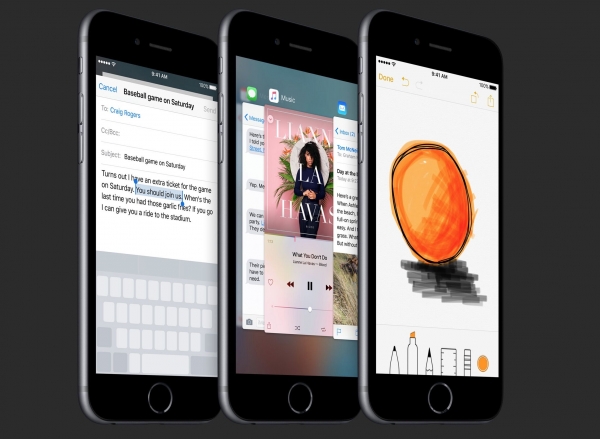
When the iPhone 6s was disassembled last time, because Apple added a 3D Touch function to the screen of the iPhone 6s, there was no special tool to disassemble it, so there was no further dismantling of the screen. Today we are going to dismantle the iPhone 6s screen with 3D Touch. Please follow the steps of 91 to move down. (Source: ifixit, translation: 91 demolition)
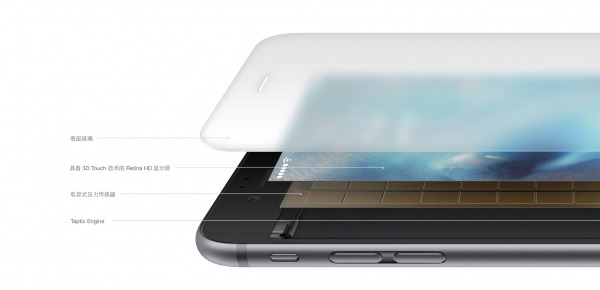
Before dismantling, understand the changes and characteristics of the iPhone 6s screen:
Add a layer of 3D Touch capacitive touch layer
Soft glass made of double ion exchange
4.7 inches 1334 x 750 pixels (326 PPI) Retina screen
Integrated touch digitizer
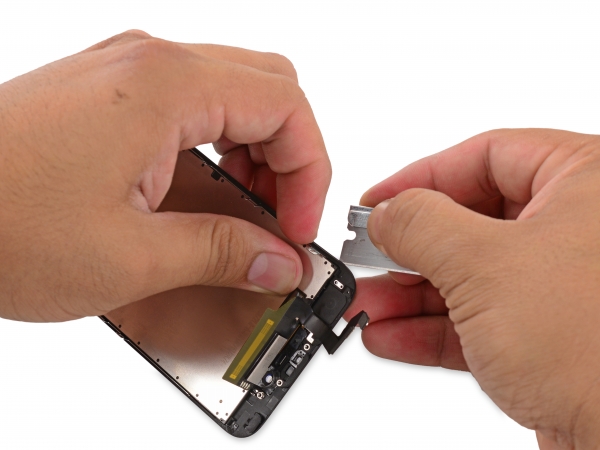
Gently cut the plastic frame securing the front panel along the edge of the screen with a blade 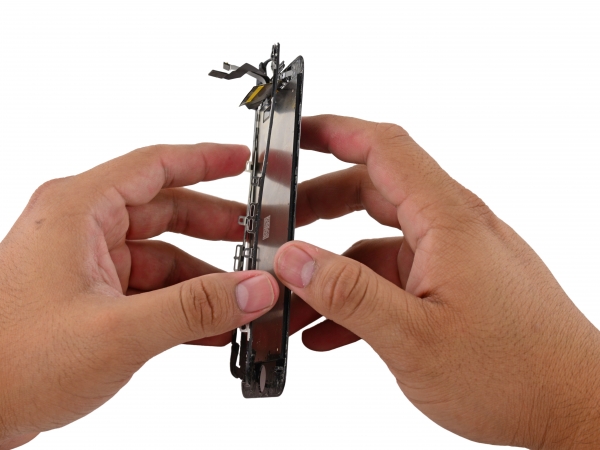
Remove the plastic frame, it is worth noting that the plastic frame next to the adhesive liner, these pads for the iPhone6s to improve the water resistance, but also shows that the iPhone6s waterproof capacity compared to previous generations have improved one of the reasons.
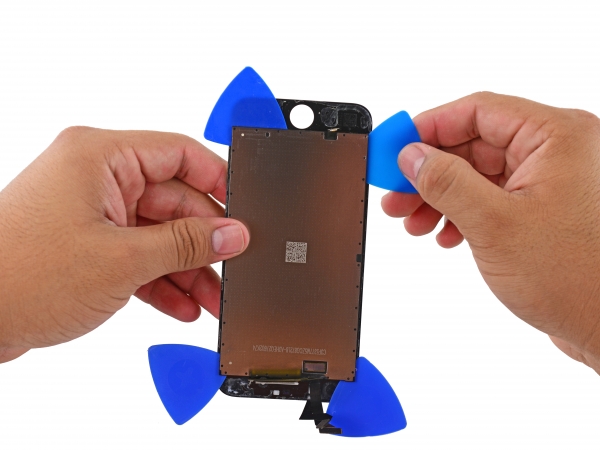
Use four paddles to fit on the four sides of the back of the screen to easily separate the 3D Touch trackpad from the screen 
Slide gently along the edge of the 3D Touch trackpad with a paddle
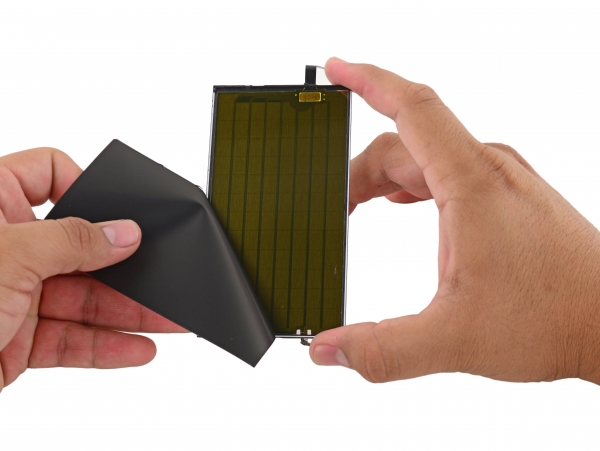
Can easily tear off the reflective film, the entire real 3D Touch touchpad eyed

Take a look at the 3D Touch capacitive touch layer. Each golden rectangular grid on the touchpad is represented by each plate of this parallel plate capacitor. Each cell has a darker channel. These channels are used for the control chip to ensure that the capacitor of the control chip is energized to detect the change of current.
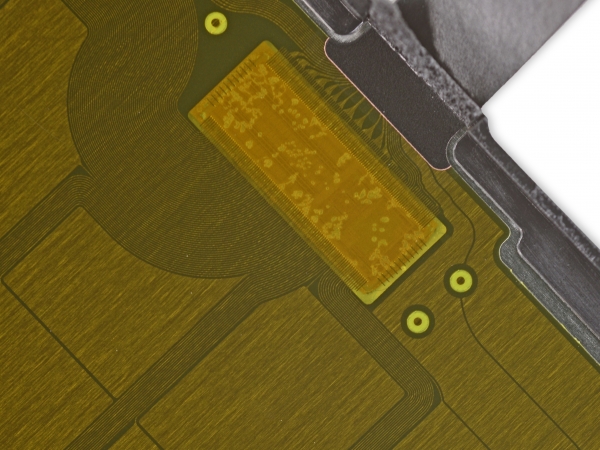
1. Corning, a company with Apple, developed a relatively soft glass specifically for the iPhone 6s;
2. After the user presses down on the glass, the contact point between the finger and the glass will be slightly bent, shortening the distance between the finger and the 3D Touch capacitive touch layer. At this time, a “push†signal will be formed instead of “touchingâ€. ;
3. In a parallel capacitor, the capacitance is inversely proportional to the distance, that is, the shorter the distance is, the larger the capacitance is, so the integrated circuit detects the current in the sensor board.
4. Similar to the touch screen, but the touch screen cannot accurately sense the fingertip pressure. Digitizers still need to accurately track pressure, but these panels just need to detect if the glass is bent. 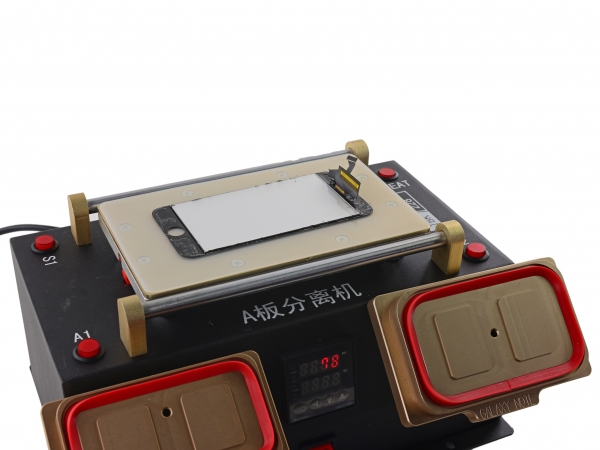
We have just disassembled the second half of the screen and we now separate the LCD panel from the top glass.

We use A-plate separation to disassemble the LCD panel and cover glass. This machine uses vacuum to fix the cover glass to the machine, and then heats the machine to soften the optical glue between the glass and the LCD panel. After the glue softens, we separate the LCD panel with a 0.08mm diameter molybdenum wire.

Remove the LCD panel
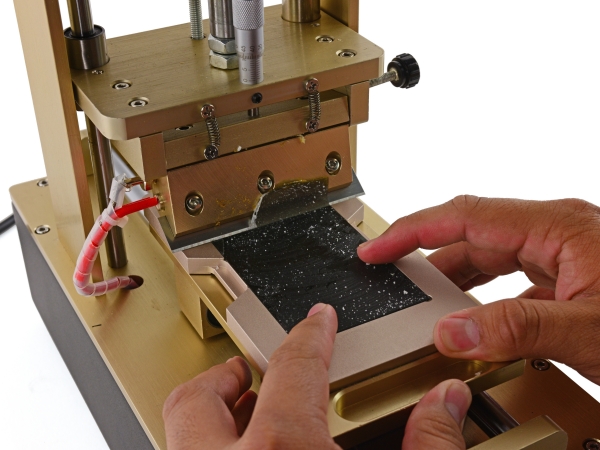
While separating the LCD panel and the glass, the polarizing film is also damaged. Fortunately, the polarizing film is an easy-to-buy accessory. We use this LCD screen remover to remove the polarizing film and glue.
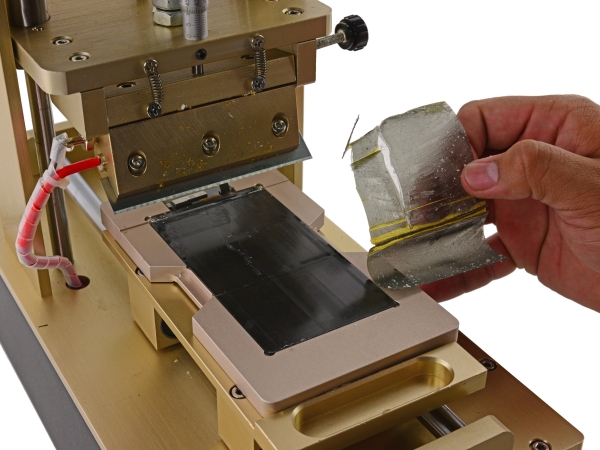
Remove the polarizing film 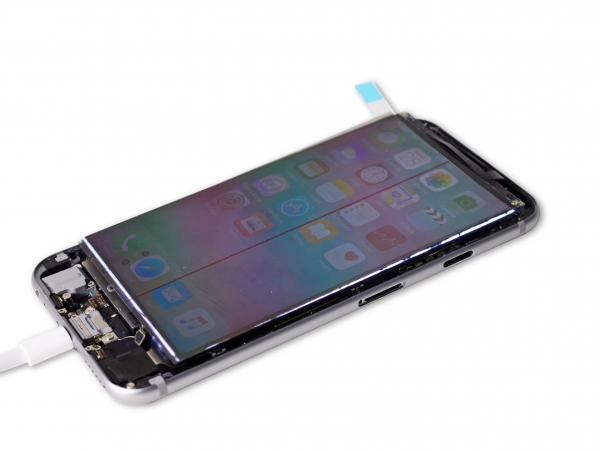
Want to know what effect the polarizing film has? Today we came to popularize the role of polarizing film
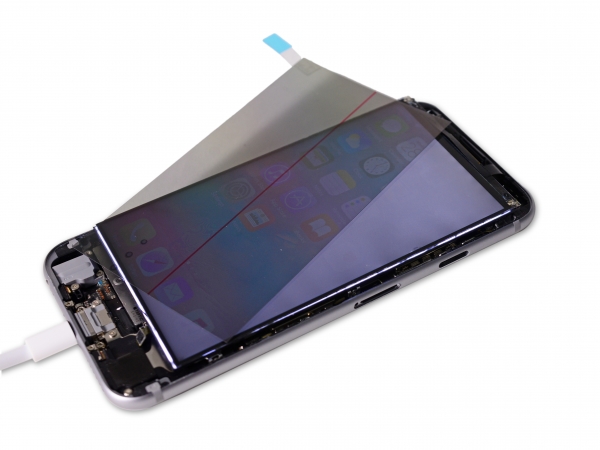
The back light is emitted through a thin layer of liquid crystal. The light refracts when it passes through the liquid crystal layer. The angle of refraction is different, and the color appearing on the polarizing film is also different. In order to produce a variety of color effects, each pixel is divided into three colors of red, green, and blue to control, and thousands of pixels combined to form a different color.
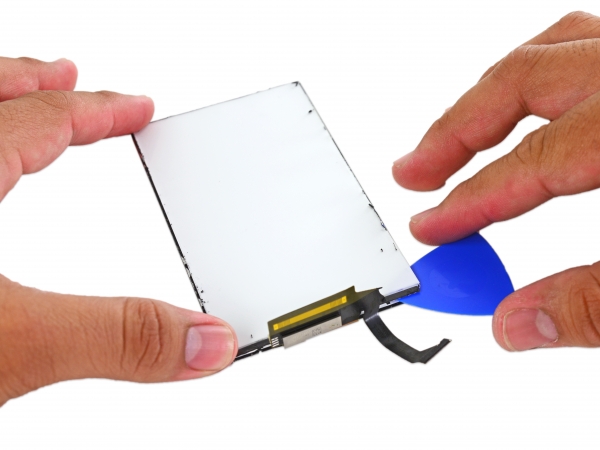
Finally, we look at the edge-lit LED backlight, which is the most common backlighting method used in modern smartphones. We used a paddle to slowly pry down the reflection layer along the edge of the polyester film. The polyester film layer has a reflective effect and is part of a backlight assembly. On the iPhone 6s, this film has a new role - covering the hidden 3D Touch touch layer.
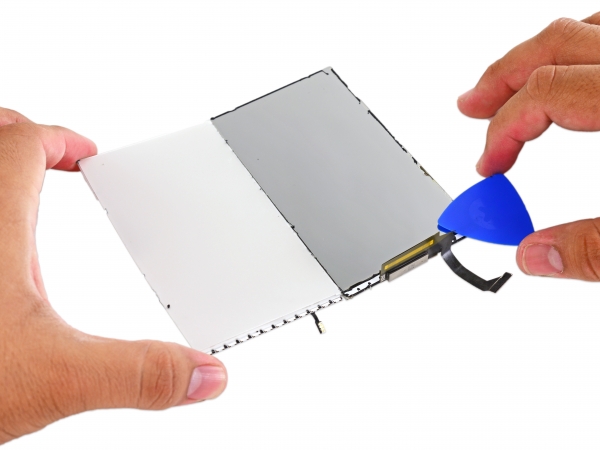
Photometric LED backlight, as the name suggests, is the LED lights distributed around the edge of the screen, with the light guide plate and reflective layer, when the LED light, the LED light emitted evenly to the entire area of ​​the screen to achieve the backlight of the LCD screen illumination.
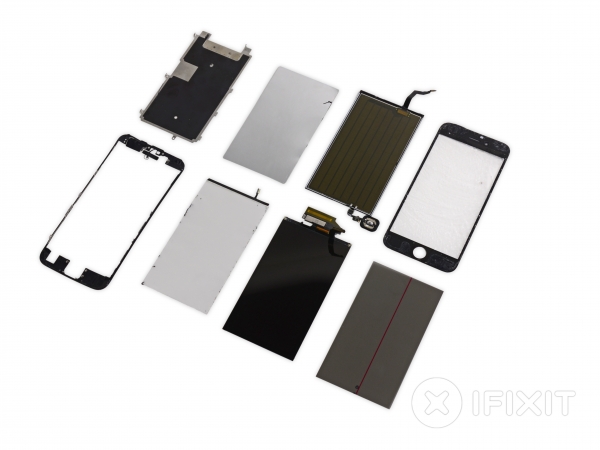
At this point, we ended the dismantling of the iPhone 6S screen and finally came to a family portrait. What we need to emphasize is that it is different from our previous dismantling. The dismantling of the screen is violent and irreparable. We do not recommend that you try to dismantle it without professional tools.
More fresh hot disassemble video, please pay attention to micro signal: jiuyaochai